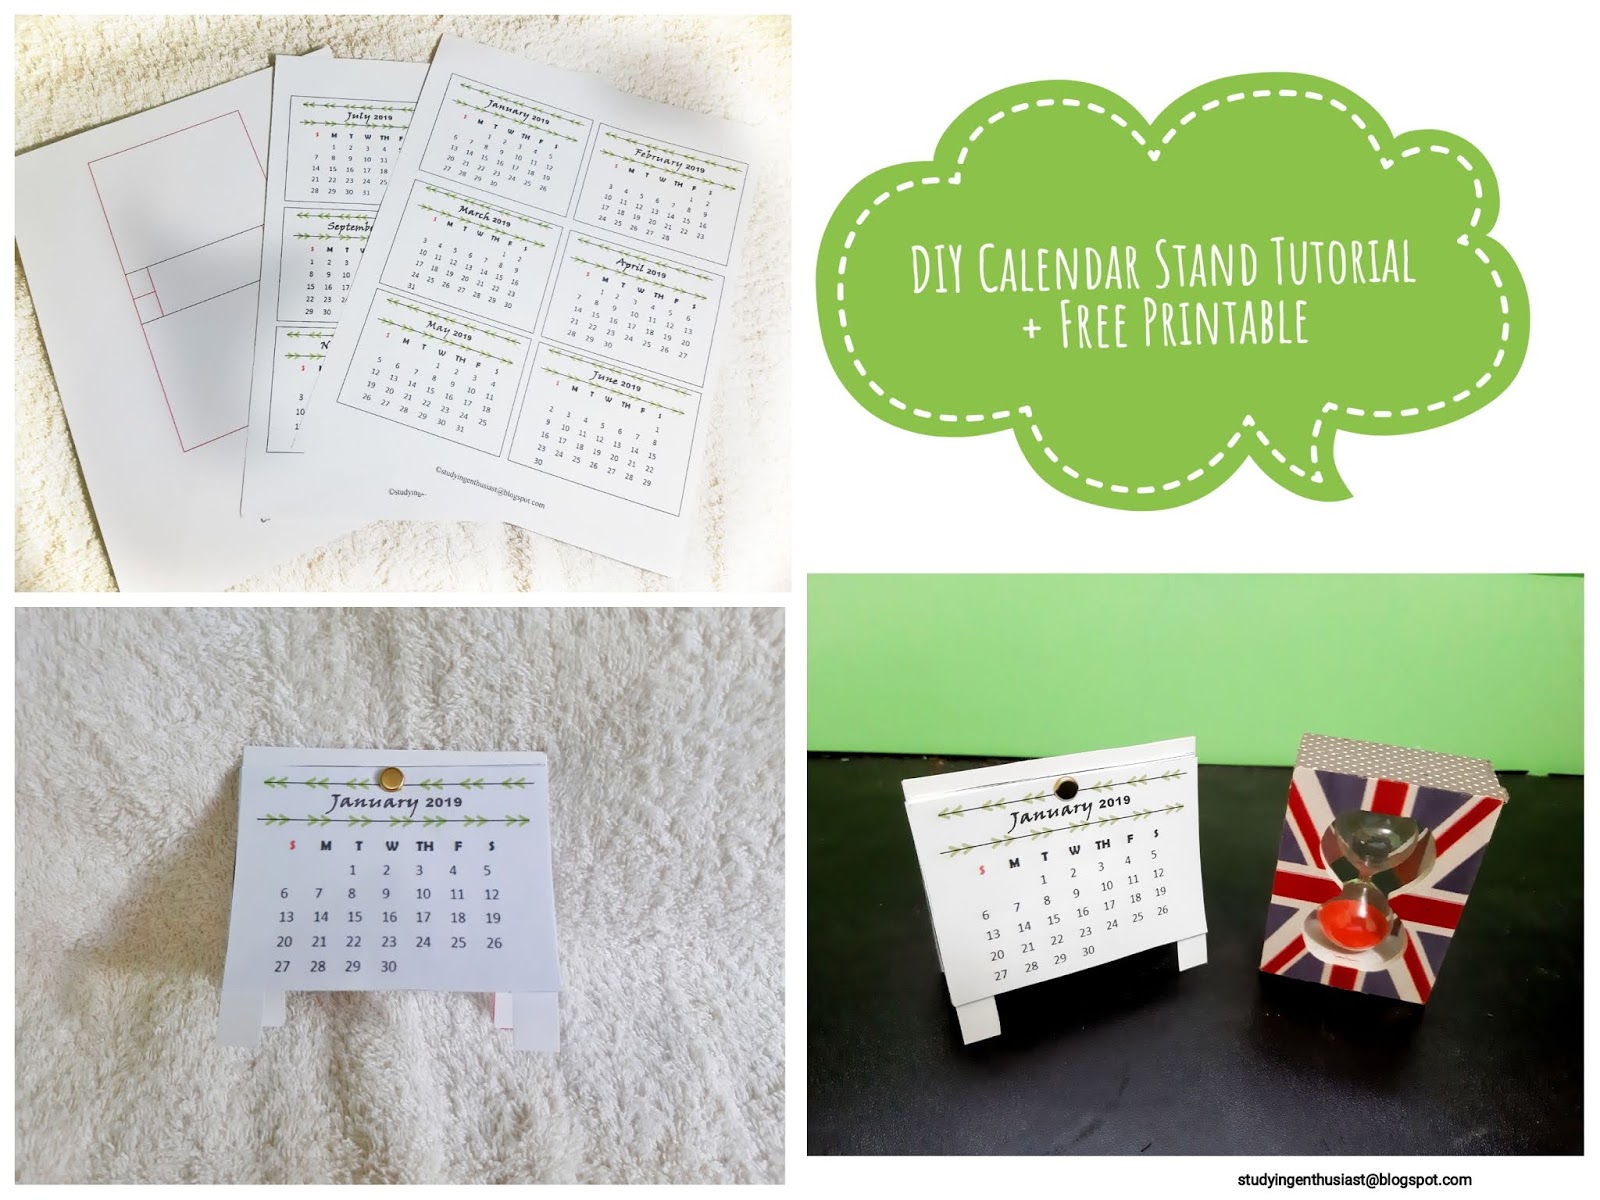
Desk calendars have always been an essential for me. I use it as my reference in making my monthly layouts for my bullet journal, in planning my days, and even as a decoration on my desk. Even there are there are desk calendars on the market, I do not purchase one since I am stingy. There are also stores and offices that give free desk calendars but they are not so beautiful. The logos are kind of bothering.
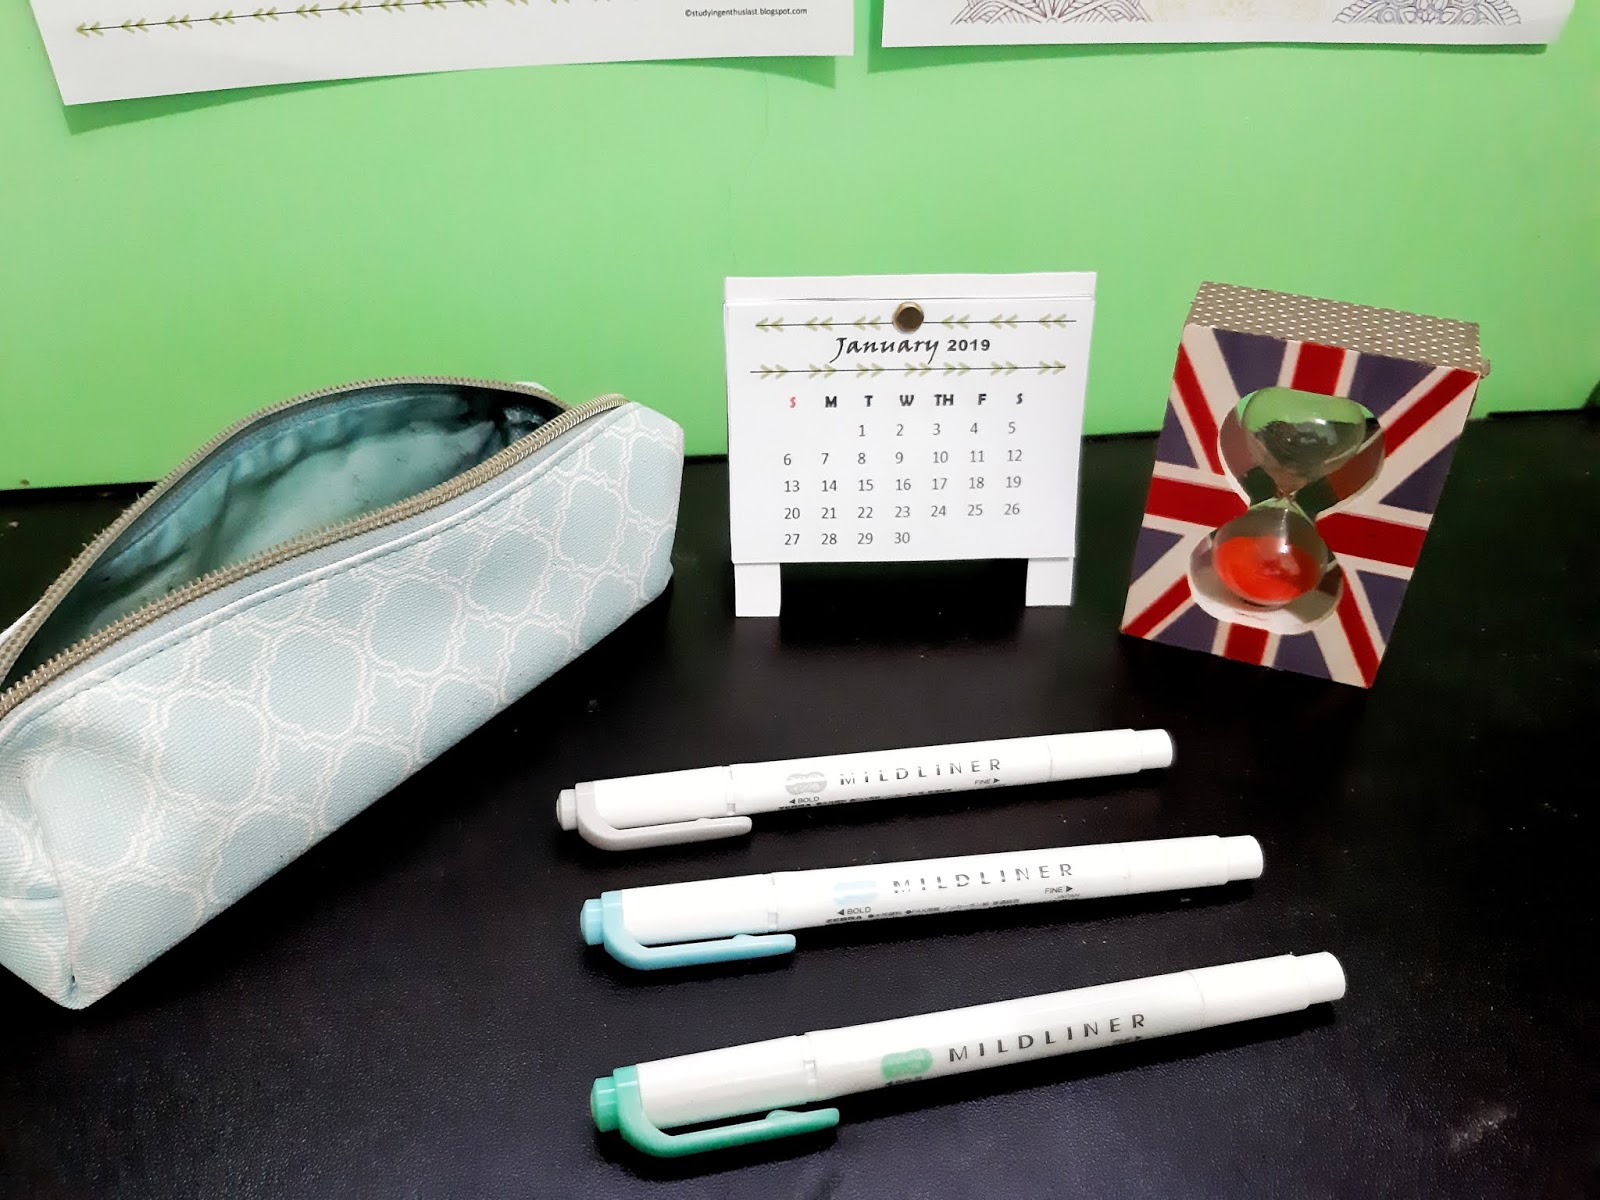
Because of that, I decided to make my own desk calendar. I made it small and cute. Its size is 2.75 x 3.75 in (height x width). I like the way it stands on my desk and it is super simple. Just works how I want it to be. I am going to show you a step-by-step tutorial on how I made this. Also, I will be sharing with you the printable that I made and used for this. I hope you will be able to utilize as much as I do.
So without further ado, let's get into the tutorial!
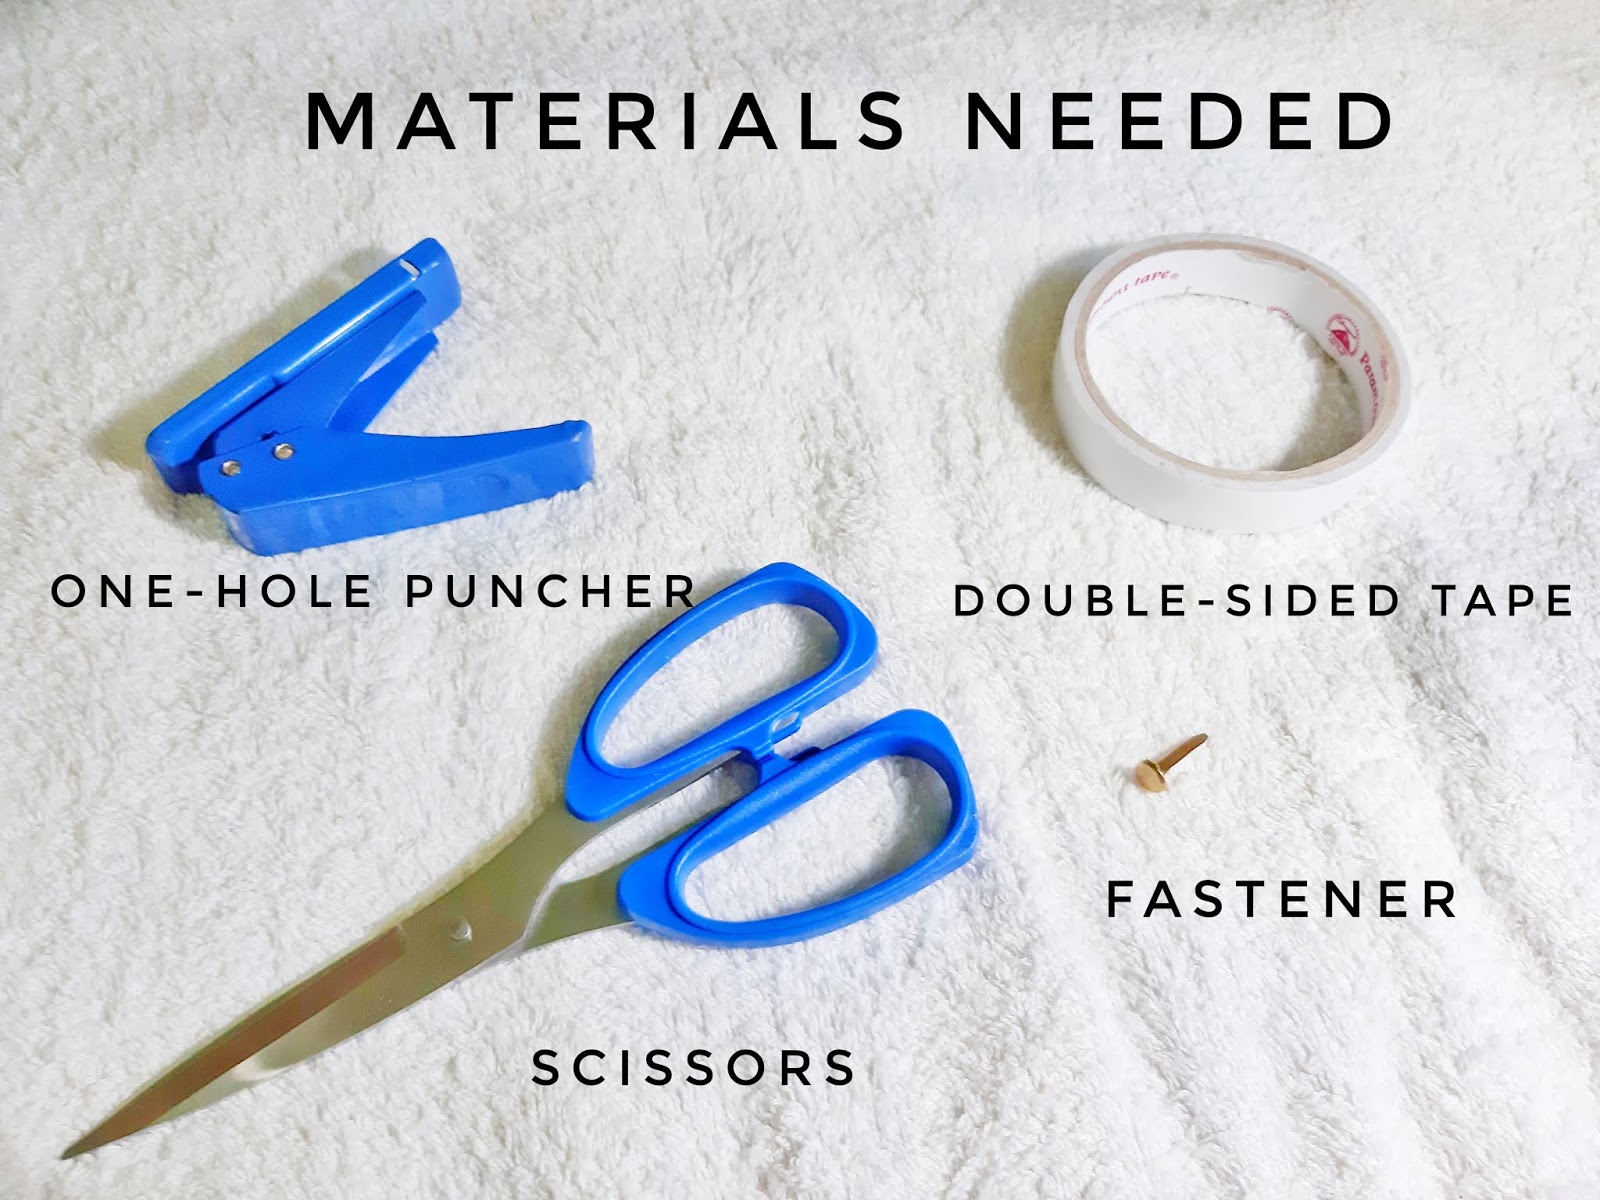
Materials needed:
- Calendar stand printable
- One-hole puncher
- Scissors
- Double-sided tape
- Fastener
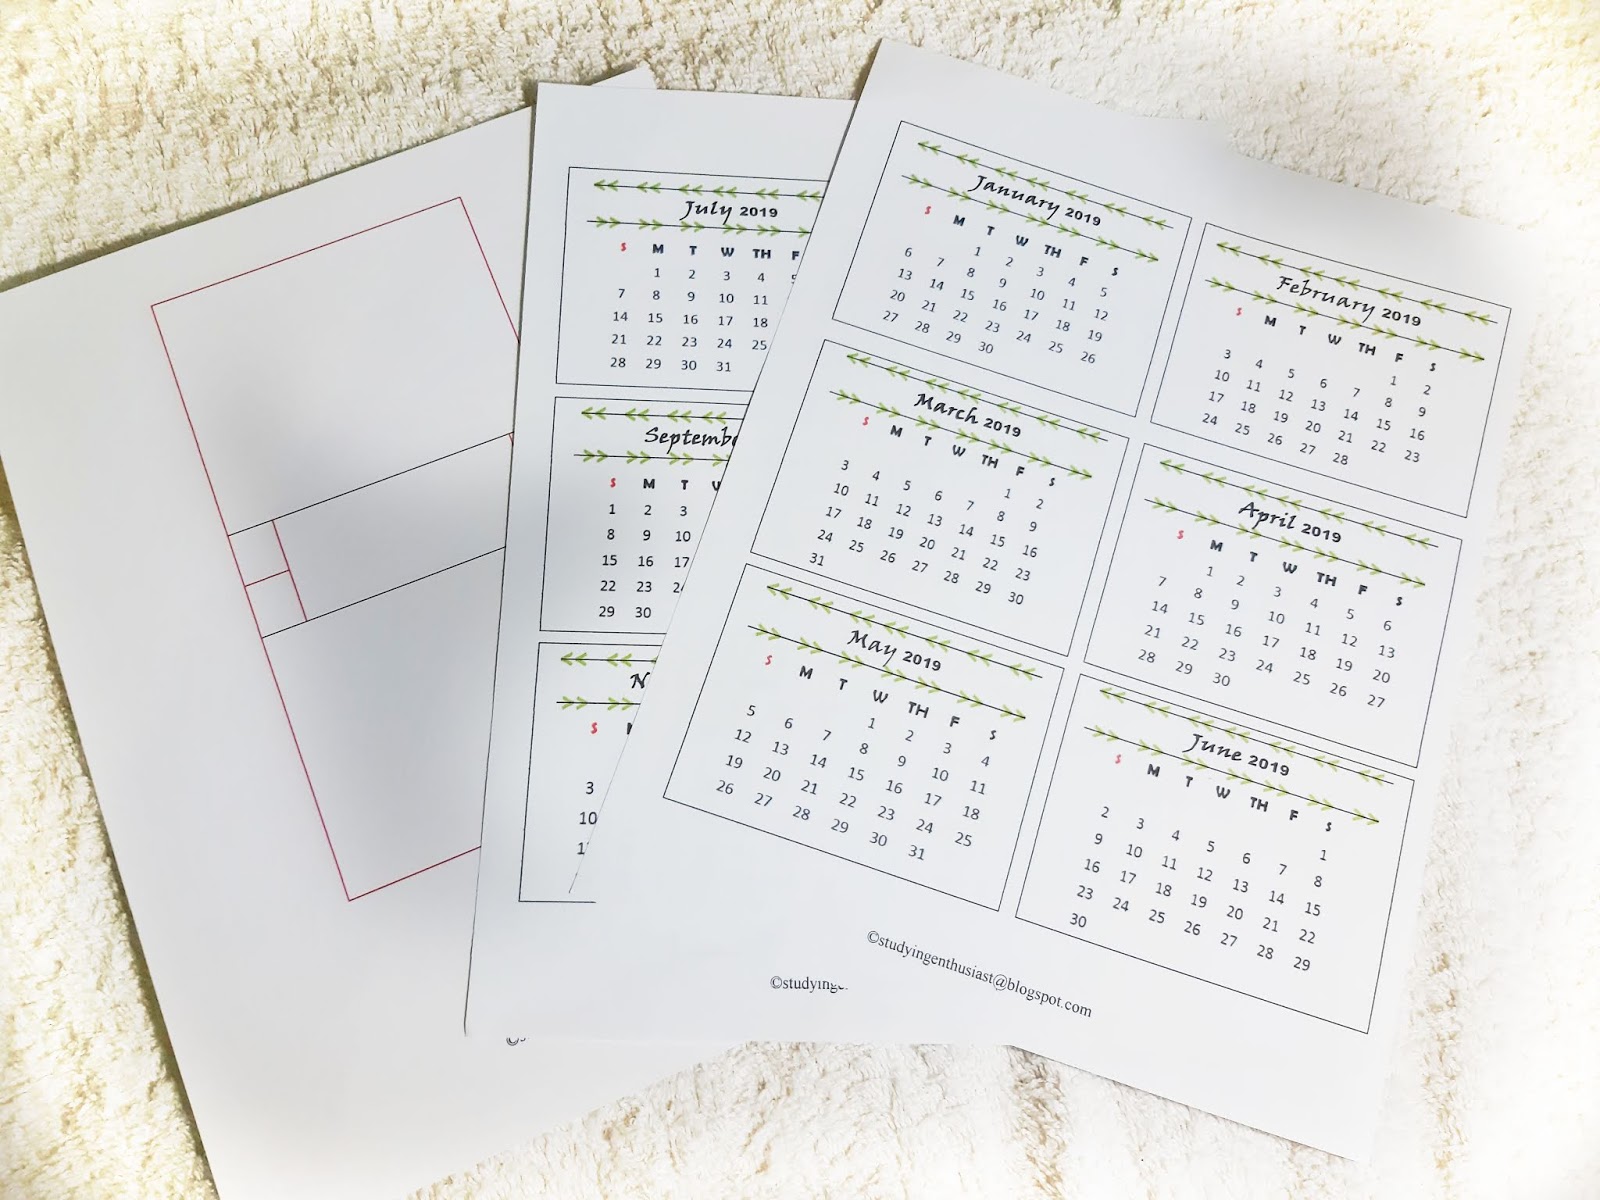
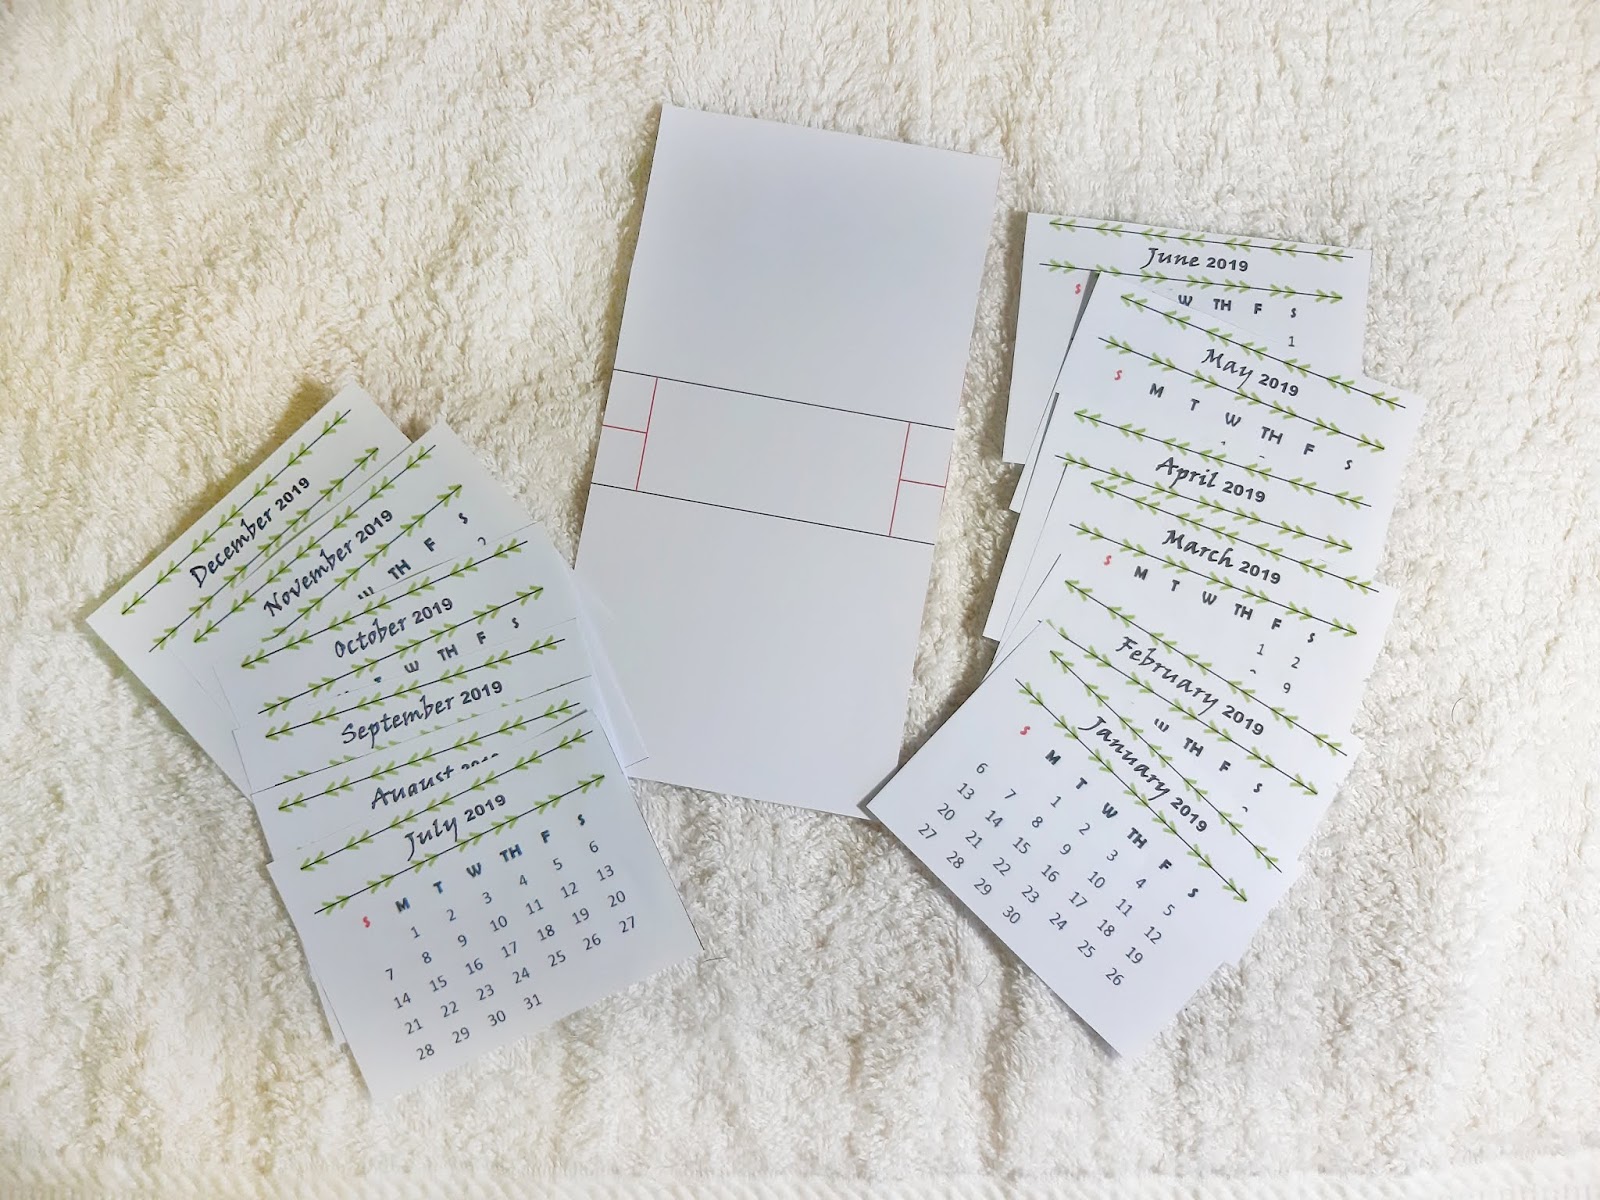
STEP 1 Print and cut the printable
You may print the calendar in letter size bond paper (8.5x11 in) like I did. But you also have the choice to use other colored paper or even card stocks if you want them to be thicker. Then, I recommend printing the calendar stand on a card stock or any paper that is thick enough to support the calendar. Likewise, you have the choice to use other colored card stock. Next cut them and they should like the one below.
STEP 2 Cut the red line and crease black line
Carefully cut the red line which will serve as the leg of the calendar. Then, crease the black line using a bone knife. If you do not have a bone knife, you may use a compass to trace the line like I did. Other alternatives are the back side of a cutter or a card. Make sure to fold it crisply.

it should look like the images below ⬇️


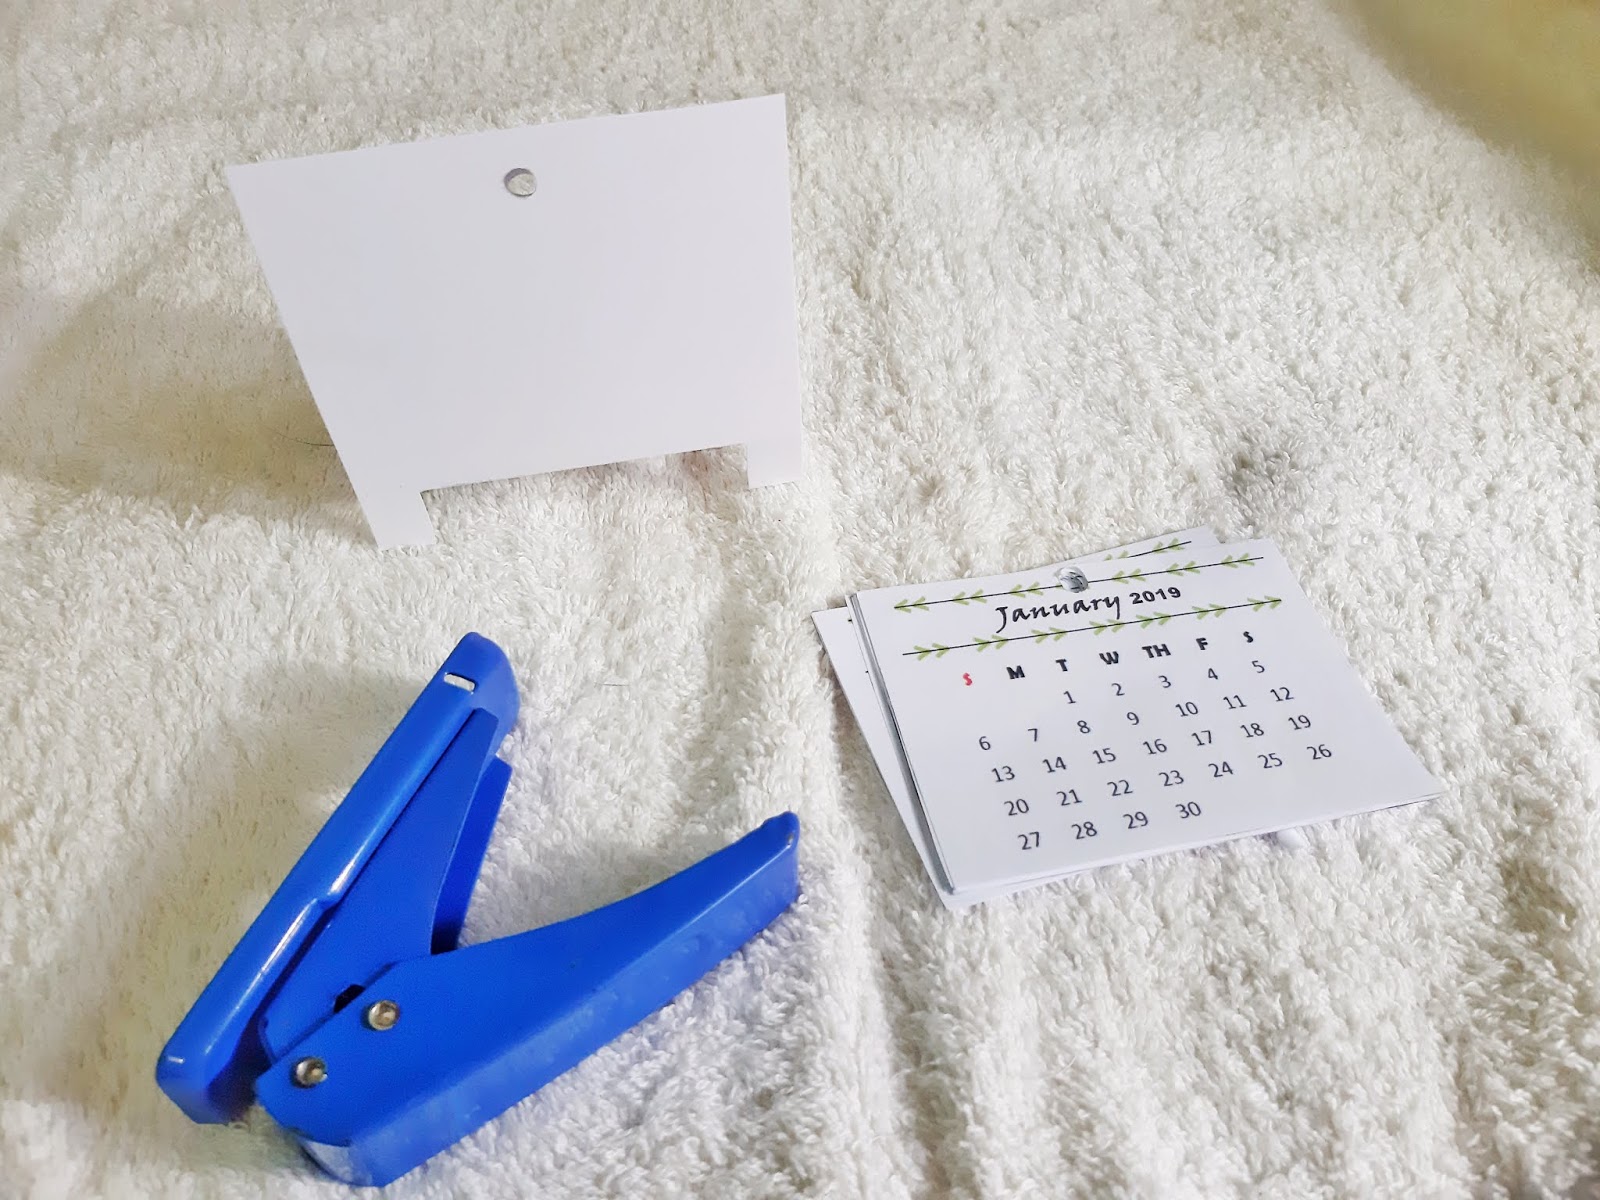
STEP 3 Punch hole the calendar and the stand
Align the bottom of the calendar and the bottom of the stand, just right before where the legs are. Make sure it is also in the middle. Punch a hole on the middle top of the calendar. Do not attempt to punch hole it on the side. I actually did and it does not look good and the calendar slides downward.
STEP 4 Add a piece of double sided tape
Place thin strips of double sided tape on the top portion of the stand to stick the two flaps together. If you do not have a double-sided tape, you may use other adhesives like glue and glue tape. Double-sided tape is my personal preference since it instantly bind s paper.

STEP 5 Put the fastener
The final step, put the fastener on the hole punched. An alternative to the puncher is a stapler. But you have to staple it as the months pass by.

Final look

How it looks on my desk
I hope you liked it and if you're going to do this, I would like to see it. Maybe you may send me photos. Also, if you have other printable requests, just tell them on the the comments. See you on my next blog. Bye!

Please do NOT share the actual file or file link. Instead, send your friends here to download my free printables. Do not sell these at any cost as these are intended to be free.
Related posts:
Comments